How Do I Flush A Water Heater?
11/3/2022 (Permalink)
How Do I Flush A Water Heater?
If you're like most people, the first time you ever flushed a water heater, it was because something went wrong. Maybe you left the faucet running and flooded your bathroom. Maybe you forgot to turn off a pipe after doing some plumbing work. Or maybe you got too excited about a new home improvement project only to find out that your water heater is actually smaller than expected. Regardless of the reason, here's what to do if you need to flush your water heater:
Before you being, turn the power off to the water heater.
To turn off the power, you need to turn off the breaker that supplies power to your water heater. You may have noticed this when you first turned on your circuit breakers after installing new electrical outlets or switches—there were two separate boxes next to each other, one labeled "power" and the other labeled with a number (e.g., 120V). This is because there are actually two different kinds of electricity: alternating current (AC) and direct current (DC). AC flows back and forth between positive and negative while DC flows in one direction only.
This is an important step. Turning off the power ensures your safety and protects the machinery.
Step 1: Turn off the water heater and water supply
The first thing to do is turn off the water heater and water supply.
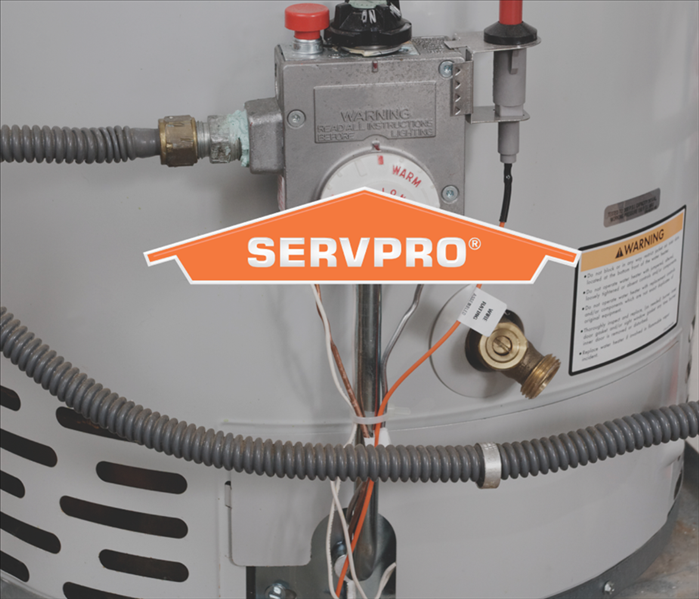
To turn off a gas-powered water heater, you must first turn off its pilot light by pressing down on the knob until it clicks. Then, open up the gas valve cover and turn off any valves that are marked "gas" or "pilot." Finally, look for a lever that says "on/off," which should be located near where you turned off your pilot light. Push this lever towards you (so it is perpendicular to your main burner) in order to shut down your heating source entirely.
Next, you need to find out where your hot and cold water lines connect to your house's plumbing system so that they can be shut off confidently without causing damage or leaks anywhere else in your home's water system. This can vary depending on what kind of equipment was installed when they built out this part of their house - so don't worry if some connections are harder than others! Just keep trying different ones until something works!
Step 2: Connect a garden hose to the drain valve.
You will need to have a garden hose long enough to reach all the way inside the drain valve. Attach the other end of your hose to your drain, and then turn on your water heater.
Step 3: Run hot water and open the drain valve.
Now, open the drain valve to let water out of the tank. The hot water will start flowing into your sink or tub and you'll be able to see if there are any problems with your heater as it empties. Be careful not to get burned by hot water!
Run hot water until the water coming out of the drain valve is clear and free of sediment. When you've flushed your tank well enough, turn off the tap at its end and close it back up again.
Step 4: Turn the water supply back on to flush the tank.
- Turn the water supply back on.
- Run water through the tank until you see it start to flow out of your faucet.
- Close the drain valve (on older models, this is usually a large brass lever or knob) and fill up your tank with fresh water.
Step 5: Fill the tank and turn on the water heater.
Before you can turn the water heater on, you need to make sure that the tank is full of water. This will take some time, so be patient. When the tank is full, you can turn on the water heater.
Hopefully, we’ve given you a few ideas on how to flush your water heater. Remember that it is a process that takes time and patience, so don’t get frustrated if things don’t go according to plan at first! With enough practice and perseverance though, anyone can do this job themselves—and save money in the process.

 24/7 Emergency Service
